Terra Cotta Repair Guide Quiz
Test Your Knowledge
Question of
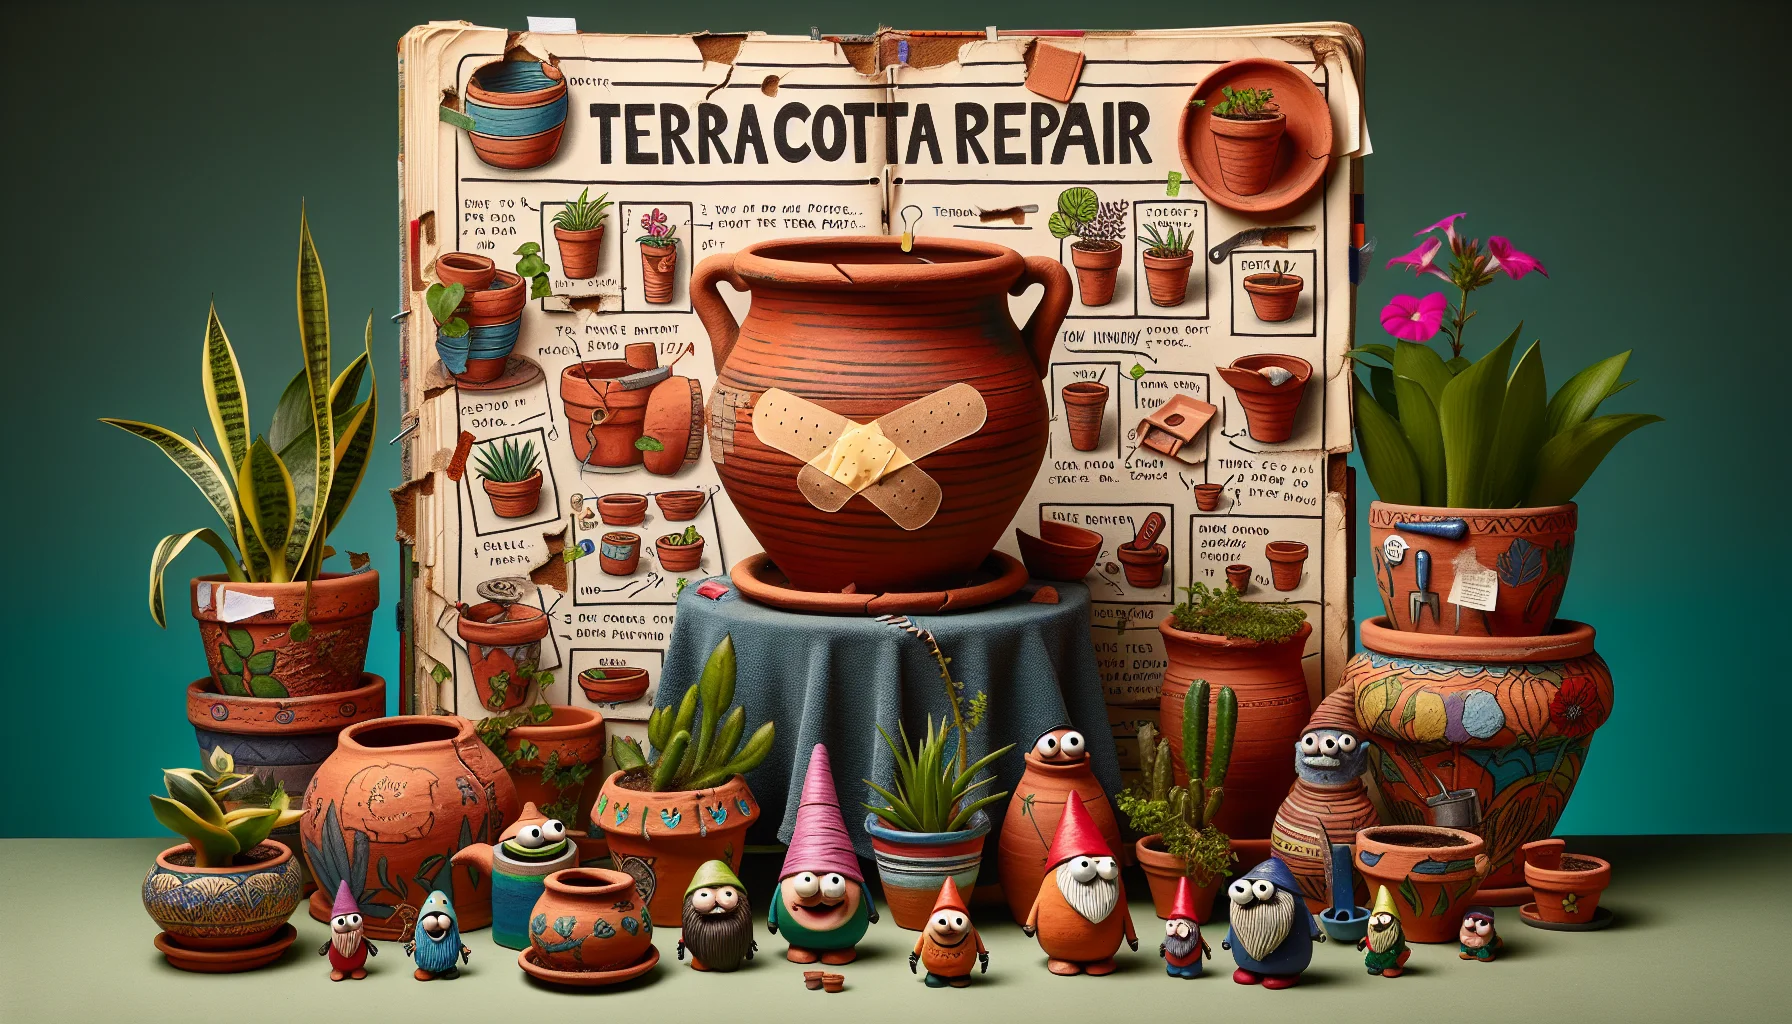
Terra Cotta Repair Guide: Preserving Your Garden's Charm
Terra cotta plays a crucial role in gardening, offering a classic, versatile option for planters, pots, and decorative elements. Its porous nature allows air and water to pass through, promoting healthy plant roots. However, this same characteristic makes terra cotta susceptible to damage from weathering, overwatering, and physical impact. Cracks, chips, and fading are common issues, leading to the need for repairs to maintain the aesthetic appeal and functionality of these garden essentials.
Identifying Damage in Terra Cotta
- Cracks
- Chips
- Erosion
Materials Needed for Terra Cotta Repair
To ensure a successful repair of terra cotta items, having the right materials and tools is crucial. Below is a list of essentials you'll need to get started:
- Epoxy resin or terra cotta repair filler
- Fine-grit sandpaper
- Paintbrushes (for applying adhesives and sealants)
- Color-matched terra cotta paint
- Clear sealant for terra cotta
- Clamps (for holding pieces together while adhesive cures)
- Disposable gloves
- Clean cloth
- Mild detergent
Step-by-Step Terra Cotta Repair Process
Terra cotta, with its warm, earthy tones, is a popular material for pots and decorative items. However, it can be prone to cracking and breaking if not handled with care. The good news is that repairing terra cotta is a straightforward process that can breathe new life into your cherished items. Follow these steps to repair cracks and breaks in terra cotta pots and decorations.
- Gather Your Materials: You will need epoxy glue designed for ceramic or terra cotta repairs, sandpaper, a small paintbrush, and a clean cloth.
- Clean the Broken Edges: Use a clean, dry brush to remove any dust or debris from the broken edges of the terra cotta. For best results, the surfaces that will be glued should be as clean as possible.
- Apply the Epoxy: Carefully apply the epoxy glue to one of the broken edges. Follow the manufacturer's instructions for the amount to use and how to apply it.
- Join the Pieces: Press the broken pieces together firmly. Wipe away any excess glue with a clean cloth before it dries. For larger items, you may need to use clamps to hold the pieces together while the glue sets.
- Let it Dry: Allow the glued item to dry completely. Refer to the epoxy glue instructions for drying times, which can vary.
- Sand the Repair: Once dry, use sandpaper to gently smooth the repaired area. Be careful not to damage the surrounding terra cotta.
- Paint (if necessary): If the repair is visible and you wish to conceal it, you can paint the area to match the rest of the item. Use a paint that is suitable for terra cotta and outdoor use if the item will be exposed to the elements.
Preventing Future Damage to Terra Cotta
To ensure the longevity and beauty of terra cotta items, it's crucial to adopt certain maintenance practices. Terra cotta, a type of earthenware that is made from clay and fired at a relatively low temperature, is porous, making it susceptible to damage from environmental elements if not properly cared for. By understanding the material's specific needs and taking preventative actions, you can protect your terra cotta pieces from deterioration and extend their life.
- Regularly clean terra cotta objects to remove dirt and prevent the growth of moss or algae, which can cause damage over time.
- Apply a waterproof sealant to terra cotta pottery used outdoors to protect it from rain and moisture. Make sure the sealant is appropriate for use on terra cotta.
- Avoid placing terra cotta items in areas where they are likely to be knocked over or bumped into, to prevent cracks and chips.
- In colder climates, bring outdoor terra cotta items indoors or provide them with adequate cover during the winter months to prevent cracking from freeze-thaw cycles.
- Inspect terra cotta objects regularly for signs of wear or damage, such as cracks or chips, and repair them promptly to prevent further deterioration.
Creative Ideas for Repurposed Terra Cotta
Terra cotta, with its natural, earthy charm, is a favorite among garden enthusiasts. However, it's not uncommon for these pieces to suffer from wear and tear over time. Instead of discarding broken or damaged terra cotta, you can breathe new life into these pieces through creative repurposing. This sustainable approach not only reduces waste but also adds unique and personalized touches to your garden space. Here are some inventive ideas to get you started on transforming your old terra cotta into something new and beautiful.
- Plant Markers: Use broken pieces of terra cotta pots to write the names of plants and stick them in your garden beds for a rustic, charming way to label your plants.
- Garden Edging: Half-buried terra cotta pot shards can create interesting and textured edges for your garden beds, adding an artistic flair to the arrangement of your outdoor space.
- Decorative Mosaics: Collect various pieces of broken terra cotta and use them to create a mosaic on a garden table top or stepping stones, offering a colorful and unique pathway through your garden.
- Miniature Fairy Gardens: Smaller pieces of terra cotta can be repurposed into enchanting fairy gardens. With a little creativity, these can become whimsical additions that spark imagination in your garden.
- Drainage Material: Broken terra cotta pieces are excellent for improving drainage in plant pots. Placing them at the bottom of a pot before adding soil can help prevent waterlogging and protect plant roots.
- Toad Houses: Larger broken pieces can be fashioned into shelters for garden toads. These little homes not only add character but also encourage natural pest control in your garden.


